Week five tutorial
Only had tutorial work this week. No more portfolio posts from now on I think.
This week we had to have two types of cinemachine cameras and two different post-processing effects. One post-processing effect had to trigger when entering an area.
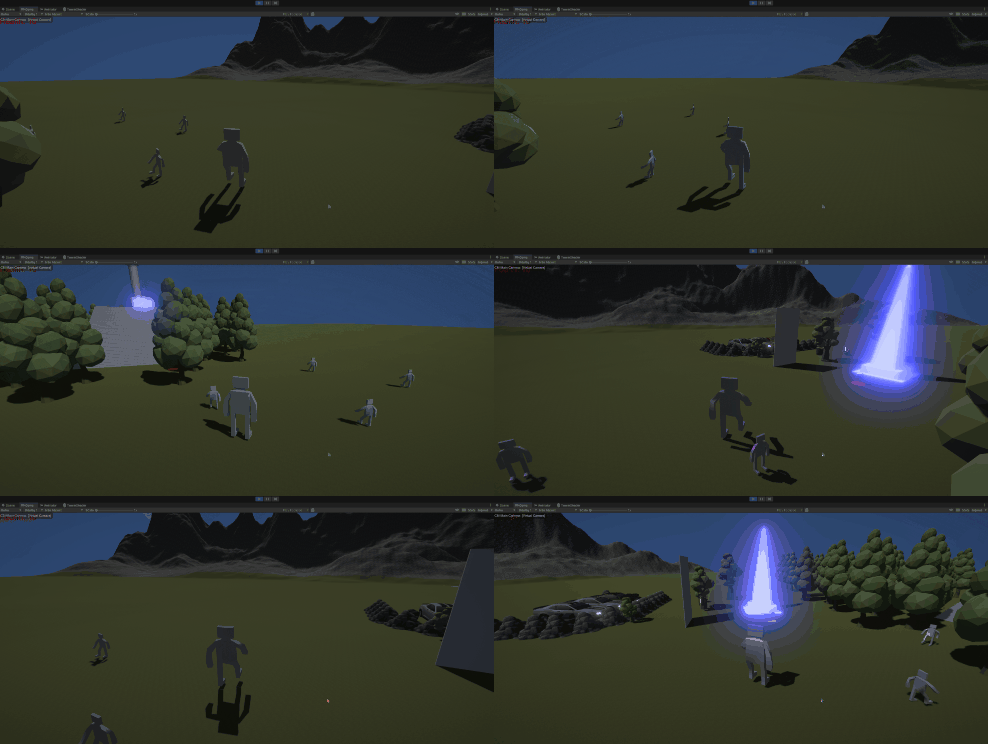
The default cinemachine camera is basically just a normal camera with a tiny bit of dampening and look-ahead. The vertical dampening helps smooth the camera out when going upstairs because otherwise, it looks very shakey. The look-ahead also smooths out the movement. I didn't change any other settings because I found the camera just following the player was the effect I was after. The gif quality makes the camera look a lot more janky than it actually is (had to decrease quality a ton to get <3MB).

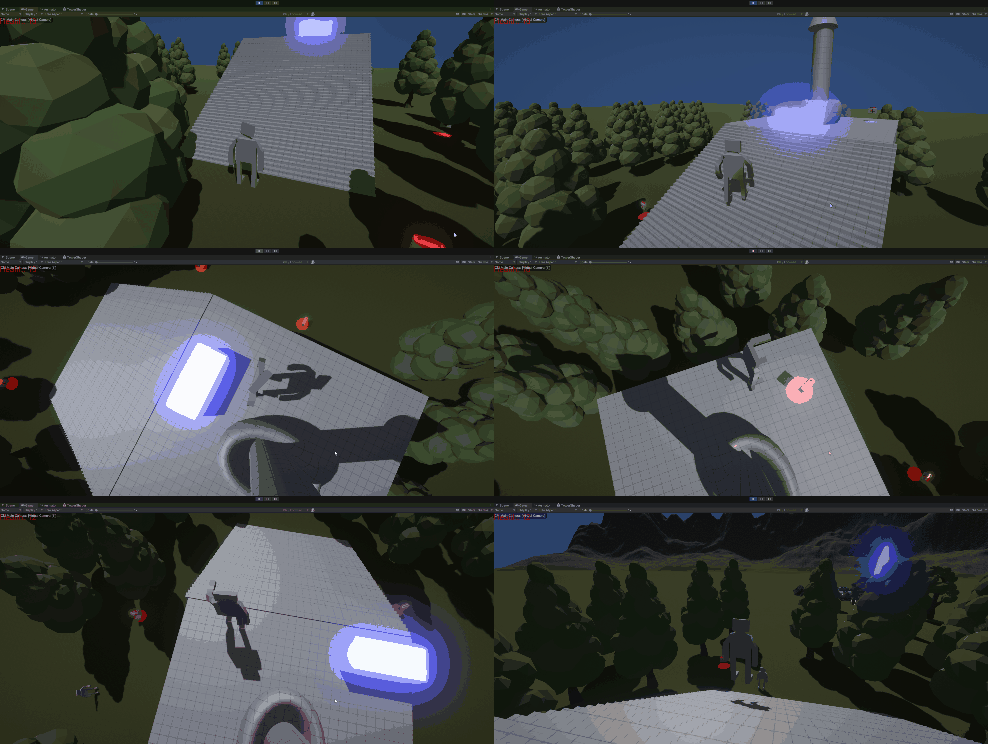
The second cinemachine is on a track around the top of the wizards tower that follows the player like so (same problem with low gif quality, remove every other frame, half the pixels, 4x lower quality, half dpi lol):

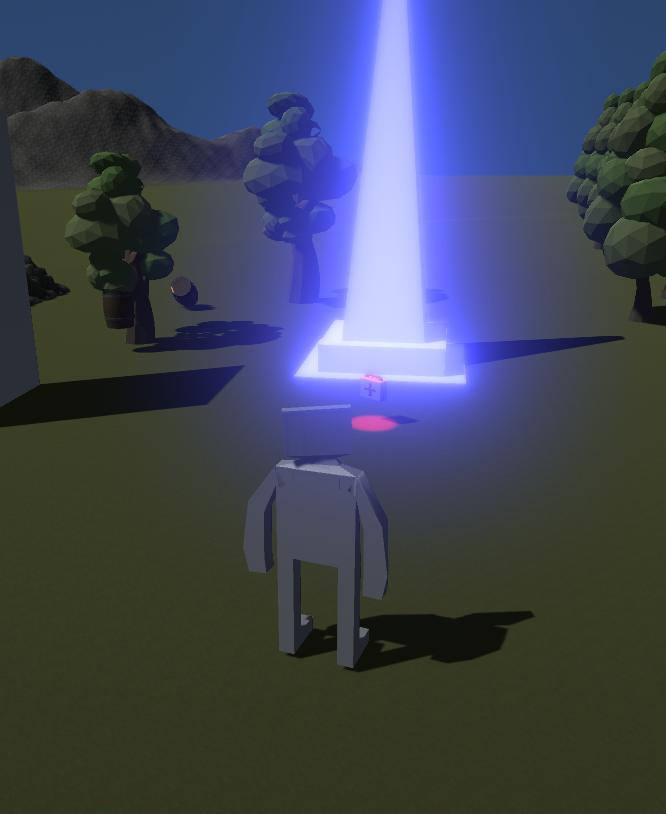
The first post-processing effect was basic bloom which makes the monument look cooler imo:

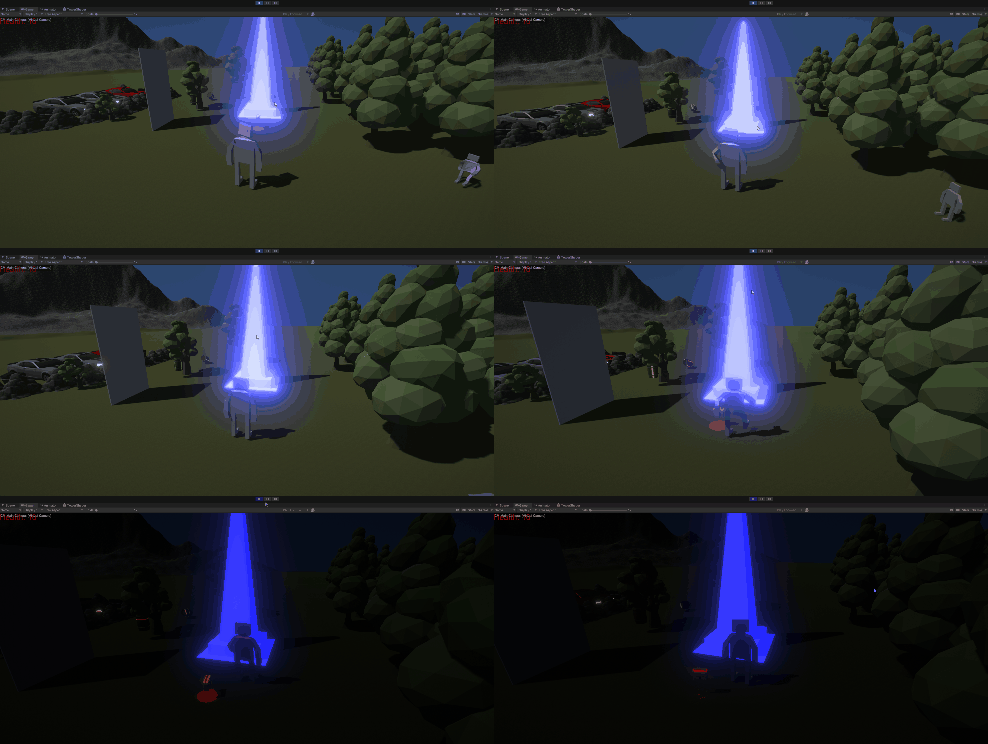
The second post-processing effect is a darkening field around the monument that triggers when the player gets within a radius.

UTAS KIT207 Portfolio
| Status | Released |
| Author | charliecooper03 |
More posts
- Week five self studyAug 15, 2023
- Week four self study + tutorialAug 01, 2023
- Week three self study + tutorialJul 25, 2023
- Week two self study + tutorialJul 18, 2023
- First week using blenderJul 18, 2023
Leave a comment
Log in with itch.io to leave a comment.