Week five self study
No tutorial this (last) week because we created our assignment groups.
For the self study, we followed a Brackeys tutorial on baked lighting found here https://www.youtube.com/watch?v=VnG2gOKV9dw.
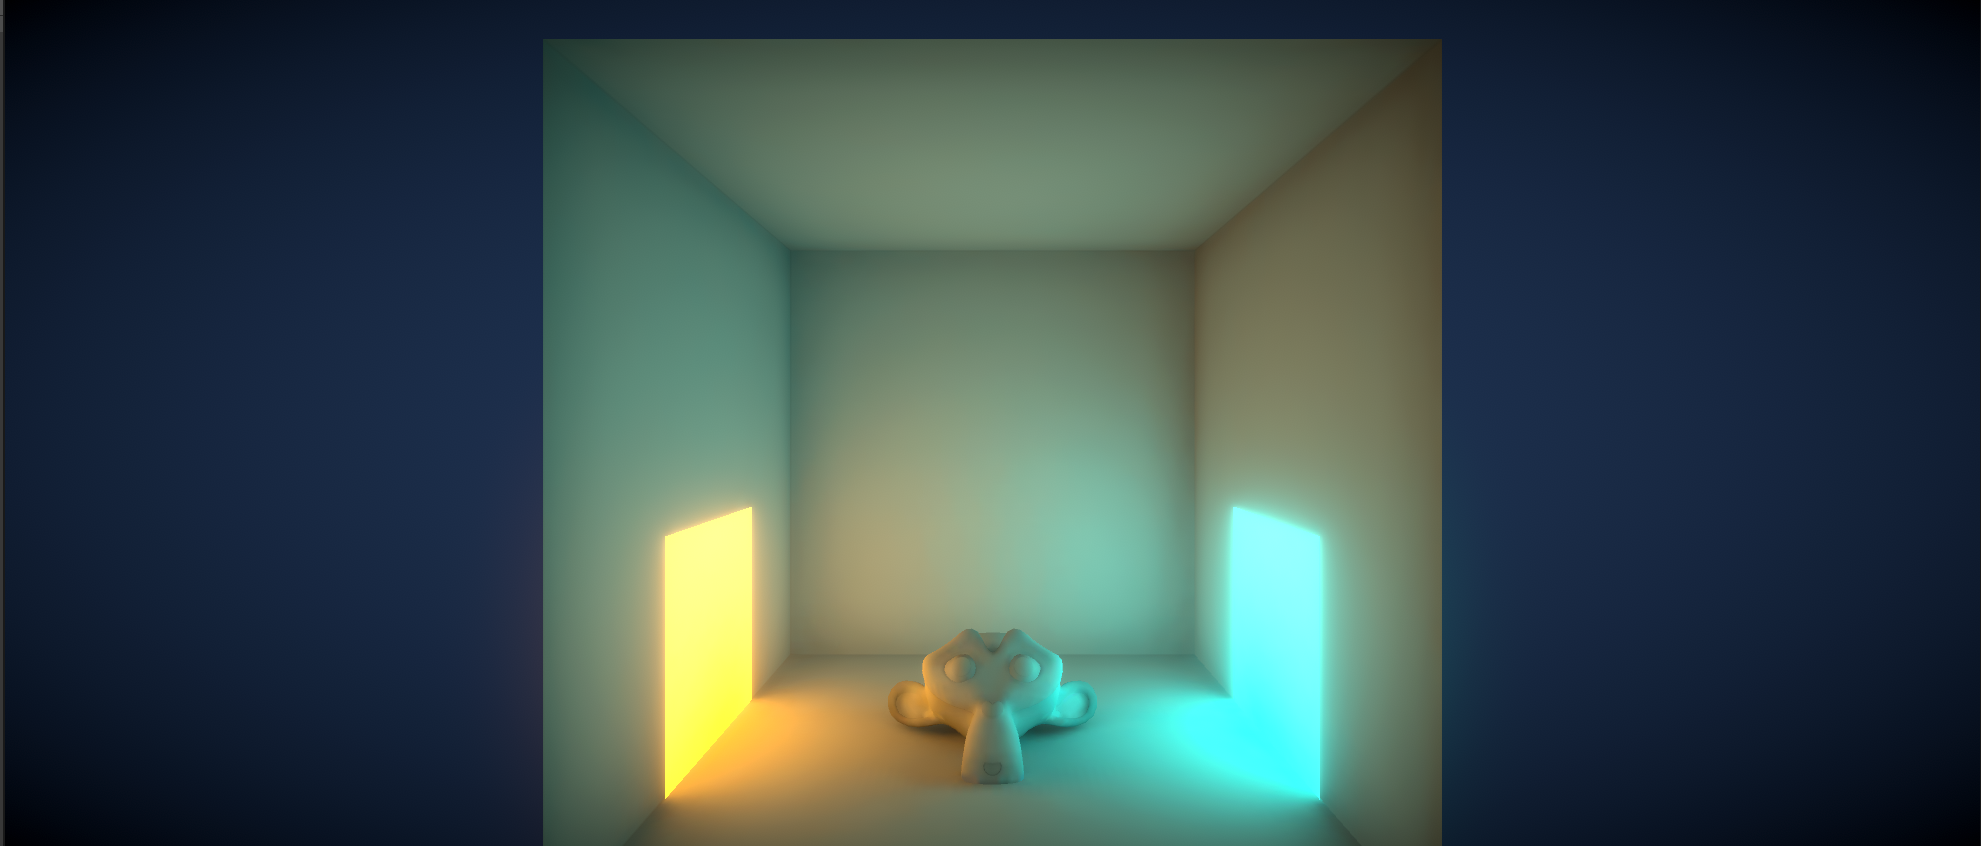
Here is my completion of the tutorial. It looks a bit foggy or something but I think it looks alright.
After that, we completed a shadergraph exercise also by Brackeys here https://www.youtube.com/watch?v=VnG2gOKV9dw.
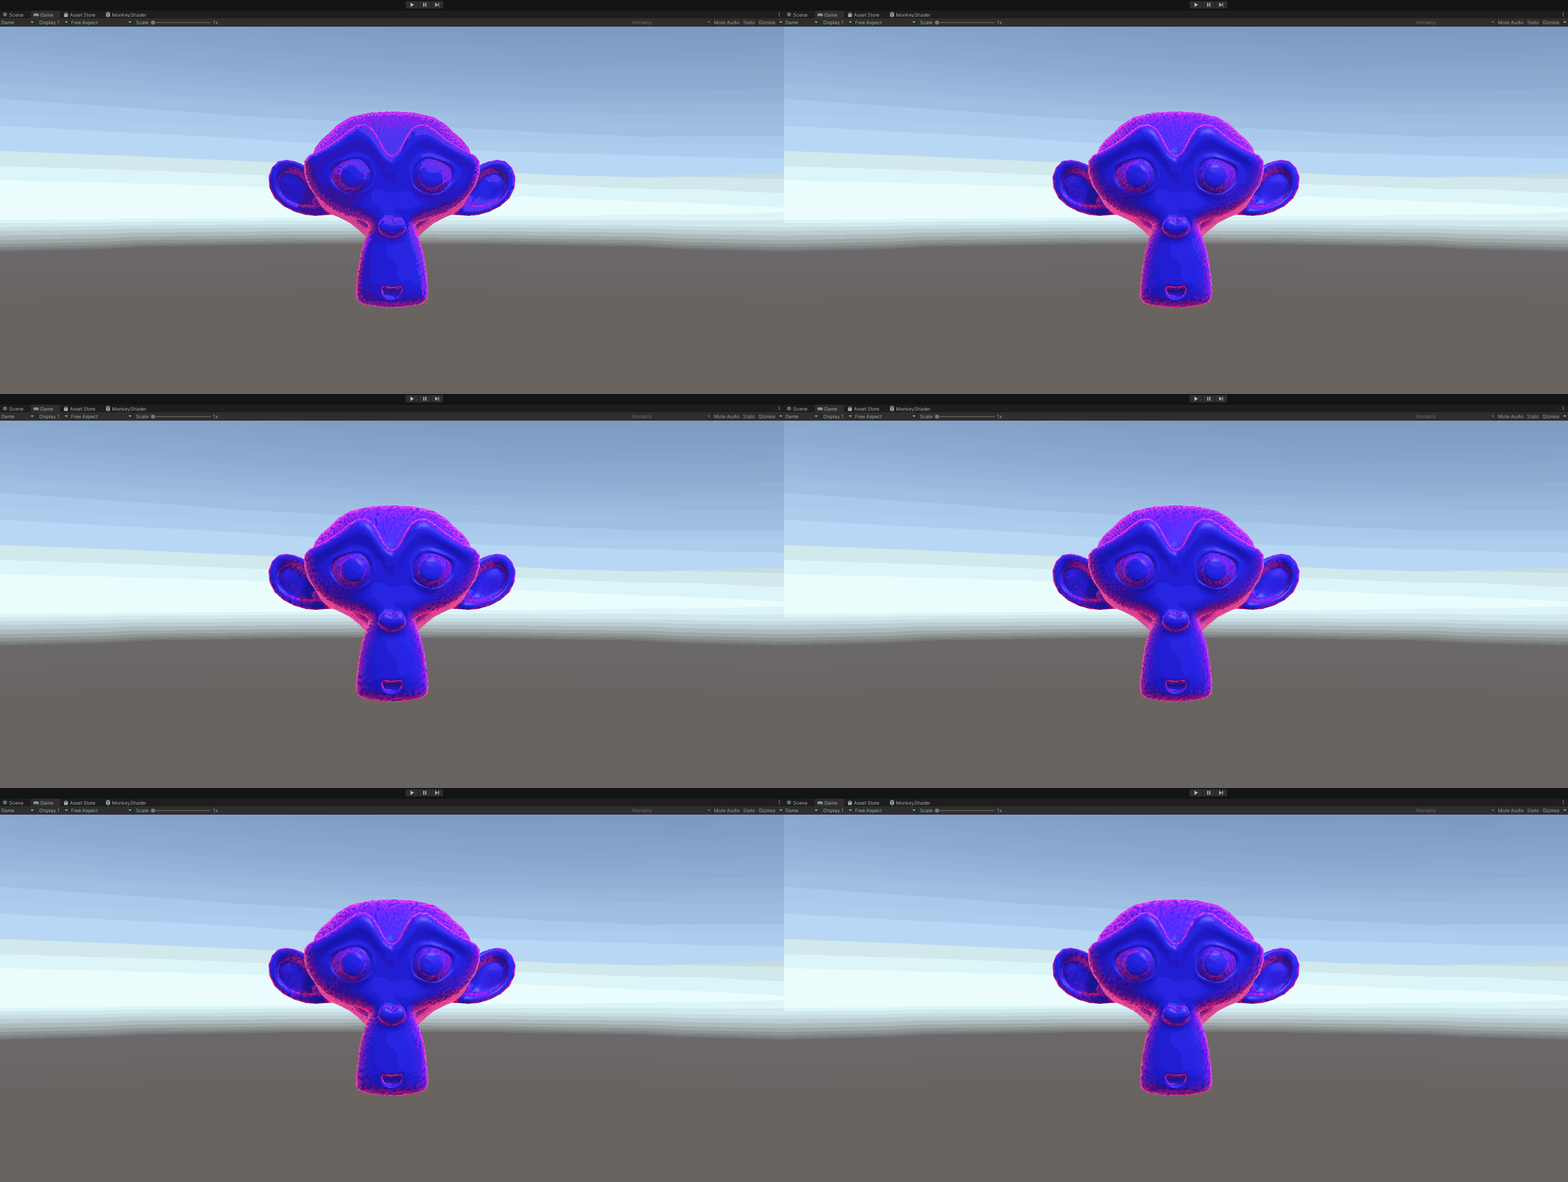
I deviated a little bit from Brackeys and instead of the border fading in and out a bit, I added some noise around the border instead of. I didn't understand how to use the tiling and offset node, I instead just created a random range that is used for the scale of the noise. When using a large enough scale, it looks like the noise is fuzzy and looks good enough for the effect I was after.
Moving on to the next tasks which were just applying what we learnt to our portfolio scene.
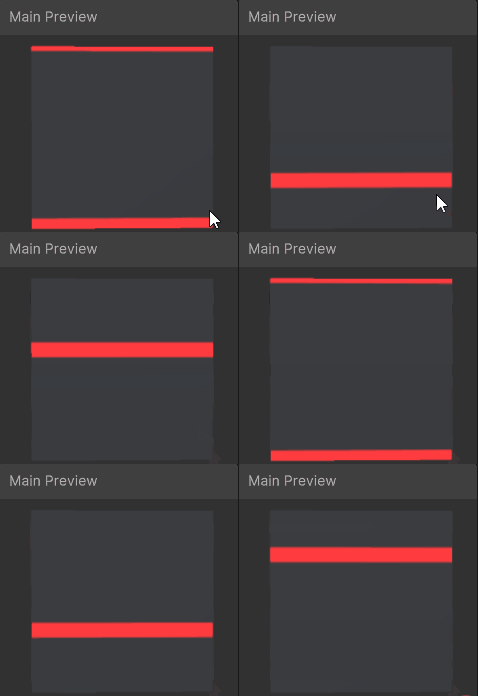
The first part I completed was the shader graph. I tried creating a shiny item type effect where there is a goldish bar that goes across the object from time to time. It looks really bad because I didn't use my time wisely. I spent way too much time trying to get lighting to work.
The second task for our portfolio was adding lighting to my scene.
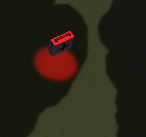
It started off well with me creating real-time lights above the health packs to better show them off like so, I disabled shadows because I felt it looked better:
Next, we had to add baked lighting into the scene but my scene is massive so baking can take over an hour and my computer is basically unusable for that time so any time I made a small mistake or just wanted to change something I now have to wait an hour+ for my project to bake again. The second issue I had was the emission from my monument wasn't baking onto the terrain because I forgot to set all the objects to static so I spent multiple hours trying to fix that. Then it still wasn't baking into the terrain (it actually was lmao) so I gave up after many hours of trying to get it working and tried just setting up a normal light like Brackeys did in one of his other tutorials. Noticing that the light I wanted to use (area) could only be baked I decided to try to do something about the baking taking ages, so I decreased the quality and now it only took about 20 minutes per bake which was a lot better. Unfortunately using the area light caused really weird artifacts on the monument like so:
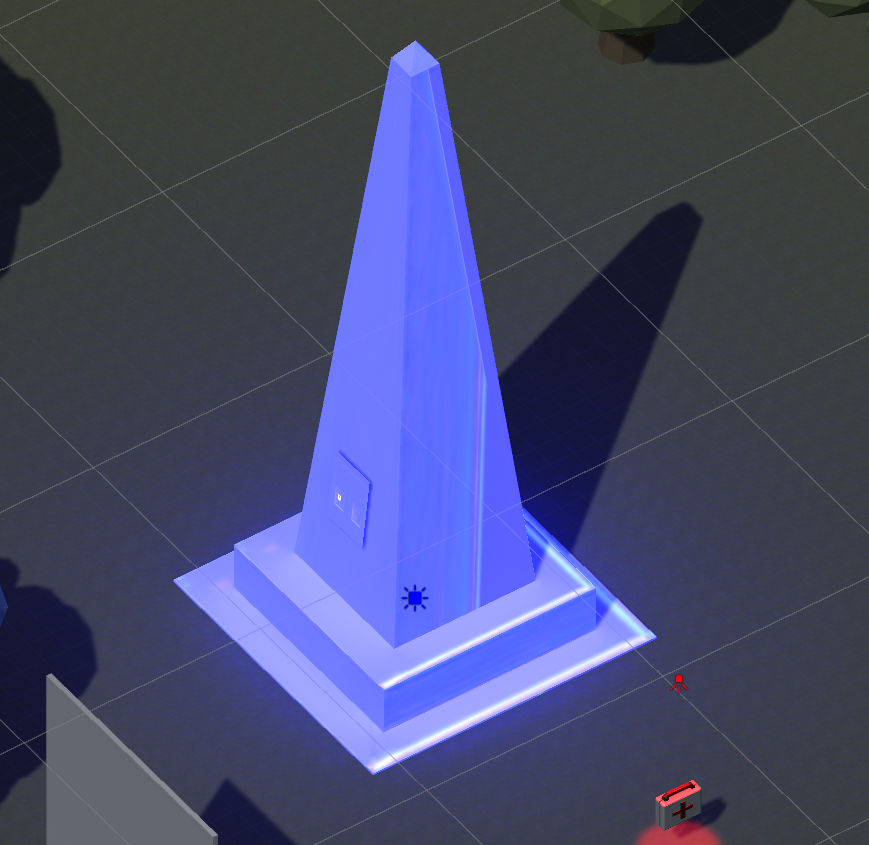
So, I then spend a bunch of time trying to fix that because I noticed that early in the bake the lighting looked fine but eventually looked like above. After repeatedly trying to fix the issue, I thought that changing the baking quality was the issue, so I ramped that back up and spent another 3 hours trying to fix issues before it occurred to me that oh wait, maybe the emission is being baked into the terrain and that's why the monument looks fine before looking like above. I somewhat, fortunately, was right. I had just spent well over a solid 24 hours basically making my computer a fancy brick to fix an issue that didn't exist, and I only thought existed because I wasn't looking closely enough. Fun. Here you can see the monument and the light it's emitting onto the terrain.
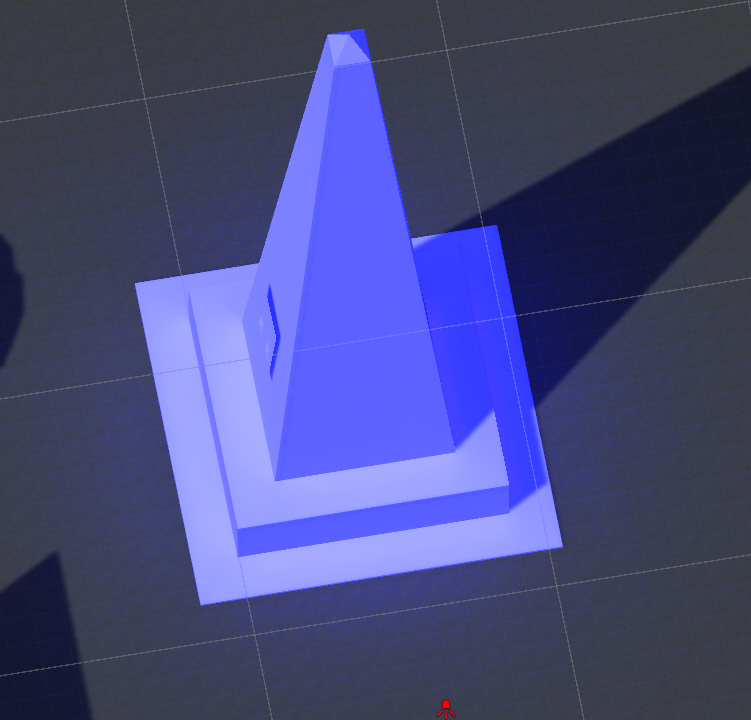
Here is the finished scene with lighting. The block doesn't emit light in real-time even though I set it up so it should (the block moves to can't bake) and I don't know how to fix it so at this point it's just a coloured block.
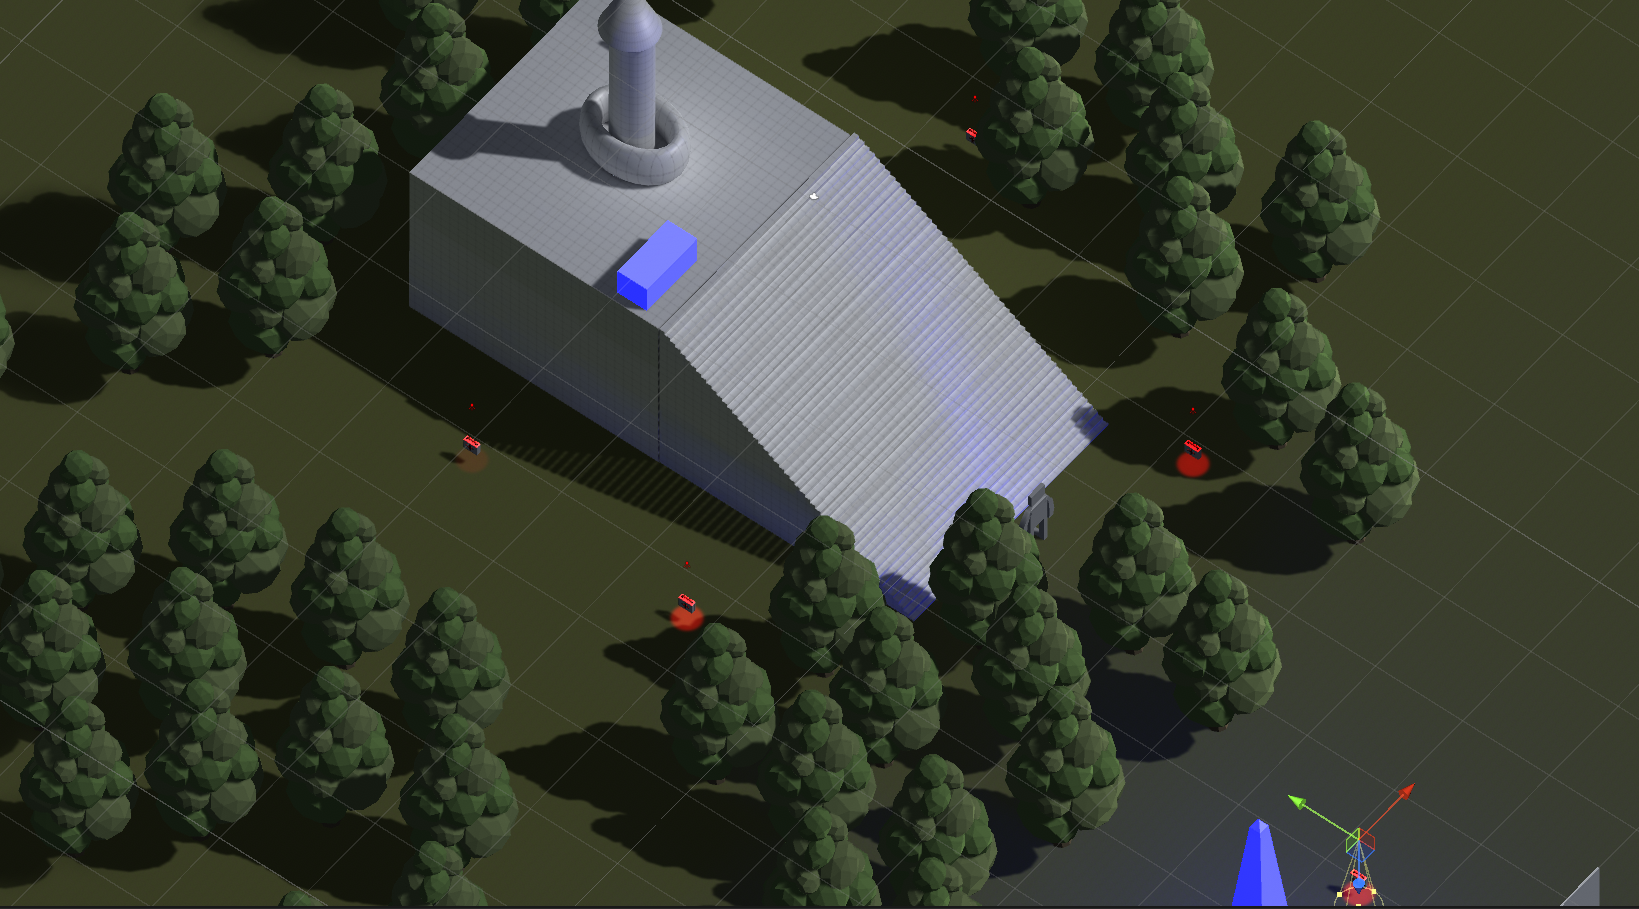
Before looked roughly like this without the glowy pyramid:
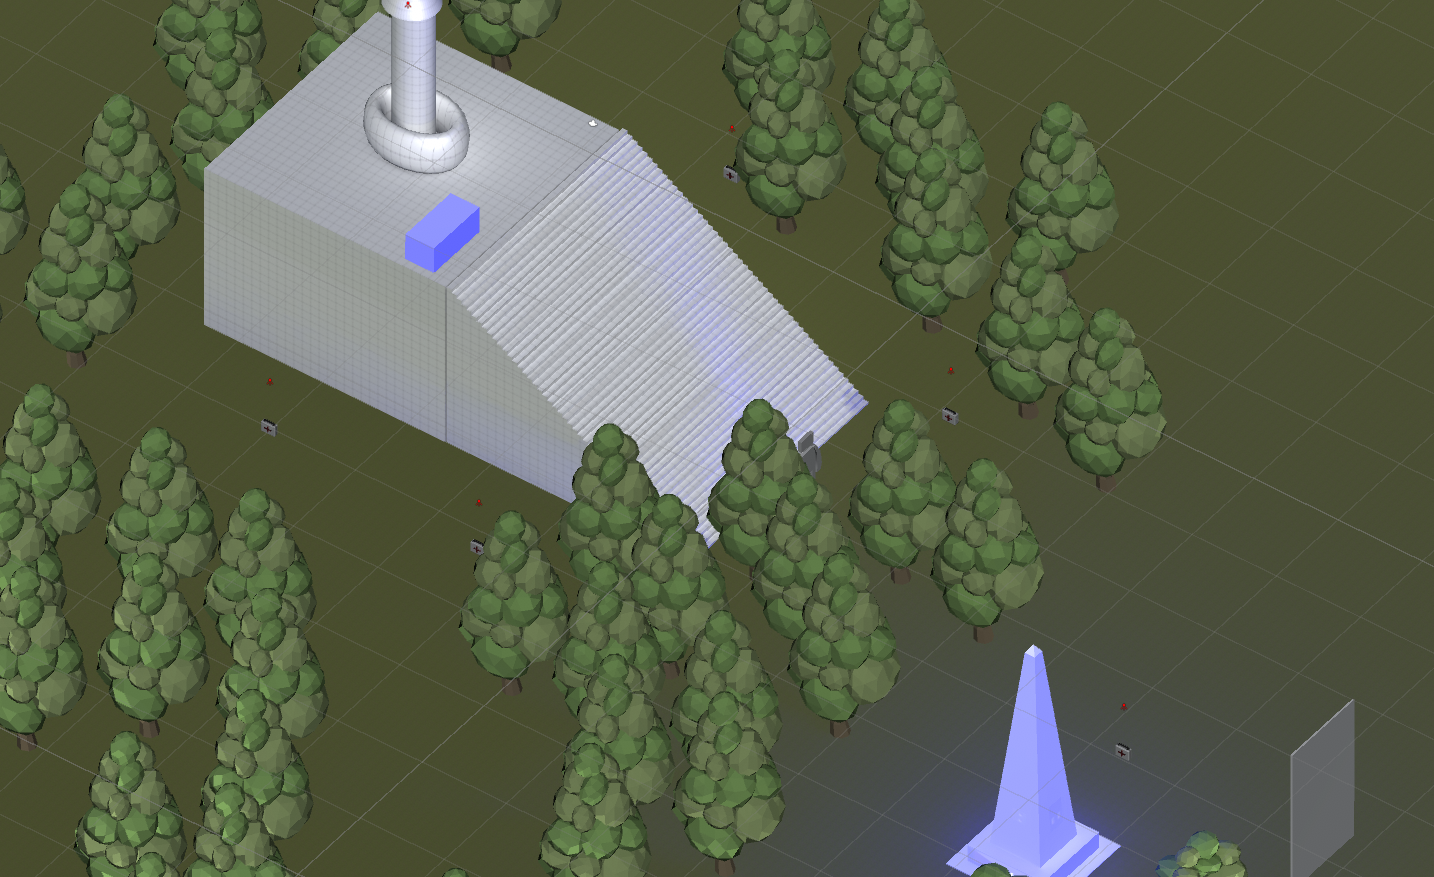
Really getting my ass beat in this unit lmao.
UTAS KIT207 Portfolio
| Status | Released |
| Author | charliecooper03 |
More posts
- Week five tutorialAug 15, 2023
- Week four self study + tutorialAug 01, 2023
- Week three self study + tutorialJul 25, 2023
- Week two self study + tutorialJul 18, 2023
- First week using blenderJul 18, 2023
Leave a comment
Log in with itch.io to leave a comment.